Showing posts with label Christmas. Show all posts

Friday, October 20, 2023

A Quick Post

 It's been a while since I last posted, and it makes me a little sad. Life has a way of keeping one busy and forgetting to take time for a little fun. 

My job keeps me creating on a regular basis, but it's not the same as just having fun. I have been doing some fun creative things, but I usually forget to take pictures and post on my blog. So today I'm sharing some cards I created for a class at the library. Fairly simple, but still fun to play!!


Since I used mostly library supplies, I'm not sure of brands or product names, but the pumpkin and tree are from an old Stampin' Up set.

I'd love to say I'll be posting more regularly,  but let's be honest here! Maybe I'll remember to share my Christmas cards!!

Thursday, December 24, 2020

Christmas Blessings to you

Today I am sharing the last of the Christmas cards and enjoying the fact that Christmas has arrived.  I've always enjoyed this time of year, but it's especially true this year.  Nothing like a pandemic to make one appreciate the small everyday things that are really such a big part of our lives.

I have made a conscious effort to find the blessing and gratitude in every day and it is a wonderful habit to form.  Every small kindness is magnified and appreciated.  Something as simple as holding the door or saying hello can make an impact if we're only opening our eyes and our hearts to recognize these things.  Will it end poverty or create world peace? Maybe not, but I think it goes a long way in making us more aware and appreciative.  And those things CAN change the world!  So regardless of whether you celebrate Christmas or not, my wish and prayer for you this season is that kindness, health, happiness, and love find their way to your door; and that you find yourself able to share these gifts with others too!

To my fellow Christians, may this Christmas season find you focused on the true purpose of this holiday and may you be moved to share God's love with all you meet!  Wishing you a Christmas blessed with health and happiness! 


Monday, December 14, 2020

Simple cards and Simple Stories

So I may have an addiction to those tag and 3x4 image sheets of paper because I've made another set of cards using a new sheet of Simple Stories paper...and I may have bought a Christmas pack of DCWV paper that also has some in it...yeah...it's becoming a thing...

Today's cards also have vintage Christmas images, but this time the colors are a bit brighter.  Most of the images were simply placed on an embossed base and were quickly done!  I did add a little strip of green to one and a mat to another.  There were also a few blocks that I didn't make into cards because they seemed perfect for journaling blocks for scrapbooking.  So maybe they'll make an appearance during the Christmas break!

My DD#1 made a comment about how perfect my embossing went with the images. I readily agreed without mentioning that having a huge collection of folders makes that pretty easy.  Let her think that I'm just that creative!!


I think this is pretty close to the last of my cards unless I just decide that I really want to make more.  I actually had all of my cards finished before Thanksgiving this year!  That hasn't happened in a very long time!  Feels good to be able to spread a little love and cheer in what has been a less that perfect year.  


Monday, November 30, 2020

Give a girl the right paper...

Another day of Christmas card making and once again finding super easy ways to get those cards finished in time to mail them out!  I'm well on my way now!

As I was thinking of a title for this post, I thought about how perfect certain papers are.  Sometimes I can see a paper and immediately know what to do with it.  They can make scrapbook pages as easy as matting a photo and adding it to a gorgeous background.  Some can be the inspiration for a perfect 3D or repurposing project.  And others just scream "Buy me and I'll make really cute cards really fast!"  I love it when paper talks to me!!

Over the summer, I was in our LSS and came across just this kind of paper.  There were fun, vintage images already in 3x4 rectangles just waiting to be cut apart.  I also found some coordinating red and green paper to finish them off perfectly.  Then I promptly brought them home and forgot about them.  My recent cleaning reminded me of them and I got busy.  Some of the images were so great, I didn't even mat them.  I just grabbed some embossing folders to add a little texture and tada! Instant cards!!

I felt just like Cinderella with the right pair of shoes...or maybe Dorothy with her ruby slippers... either way-it just proves that if you give a girl the right item, she can get things done!


Aren't those images just the best?!  I'm almost positive these were Simple Stories, but since I tossed the end strips I can't be 100% sure.  

Well, I'm back to work this week and going to do my best to carve out some creative time, so hopefully I'll have a few scrapbook pages in the future.  I do have more cards to share, but they'll have to wait for another day!


Thursday, November 26, 2020

You just never know what you'll find!

Hello!  My recent post about getting back into my creative space became a reality yesterday.  After spending a lot of the day cleaning (yikes!!), I finally cleared my table enough to start making some Christmas cards.  I also rediscovered a package of card bases that had the cutest holiday patterns on them.  I really didn't want to cover the base, and honestly was looking for a quick way to make some cards, so I dug out a Hero Arts Merry Christmas stamp and Wacky Wishes by SU, pulled some inks to match and got busy.  Super simple cards that still look cute.


Added a little linen thread bow to dress this up!


A little layering on these to make
the sentiment stand out!


I have to confess that I don't actually remember buying these bases... Yeah... Have I mentioned recently that I have a craft supply hoarding problem?!  I'm wondering if these weren't a prize from a crop or a gift from someone because this isn't something I would ordinarily buy.  I guess this is just another reminder that I don't really need to shop for new items; I just need to go through my stash and discover treasures that are already here!!  You really never know what you'll find if you dig deep enough!

I am so happy to be  posting again and look forward to sharing more creation and inspiration soon!


Thursday, May 7, 2020

Throwback Thursday- Christmas Bash

Hi! I am so happy you are here!  I have three throwback pages to share today and they all but used up my hoarded beloved Christmas paper!  When I first started scrapbooking, I would hoard pretty papers and embellishments for just the right pages. Now that I've been doing this for a little while (20 something years), I've learned a few lessons.
  1. There will always be more paper/embellishments/ribbon
  2. If you keep things too long, sometimes you don't like them anymore.
  3. It is a royal pain to move all of those supplies and attempt to organize them when you get a new home.
  4. Any page can be the perfect page for pretty paper!
After moving into our new home, I really decided I needed to USE what I have and only buy what I really NEED to have.  Surprisingly, I don't need a lot (probably because I have a scrapbook store's worth of inventory in my craft room), and it's been a bit of an adventure to rediscover my supplies!

Today's pages use some old SU Christmas paper and some gorgeous birds from a dear scrapping friend.  I decided to use the cardinals because the pages are from our first Christmas without Dad.  It made me feel like even though he wasn't in the photos, he was still on those pages.  I've always said paper crafting was my therapy, but these pages were especially healing.


**hidden tags behind the two right photos


**hidden tag behind lower right photo

I was making an effort to use as much of the pattern paper as I could, but there is still enough paper left for another layout and maybe some cards.  I'll have to work on that!

I think everything used on these pages are throwback supplies.  Nothing new that I can see!!

Thanks so much for visiting today!  I hope you find some time to create today!

Page Recipes:  Paper-Holly Berry Bouquet DSP, wild wasabi, real red, very vanilla, Accessories- cardinal embellishments, Martha Stewart greenery punch, wild wasabi ribbon

Friday, December 20, 2019

Glittery Greetings!

Hi! Today I'm here with something a bit new!  I've been putting a lot of effort into using my older supplies for Christmas cards, but I just had to play a little with a new stencil and new color of glitter gel I bought at our LSS.  I used a border stencil, with a tilt to create that glittery green tree. It was a bit tricky to get the placement right and not get glitter where it didn't go, but I thought it made a great tree.  What I wasn't counting on was all the white space left on the layer.  A quick change in plans led to the gifts made of DSP.  A Christmas tree should have gifts, right?!


I heat embossed the sentiment to make it stand out a bit and then ran some cherry cobbler dazzling details around the edge to frame the card in glittery goodness!  A lot more time then I usually spend on Christmas cards, but it was a lot of fun!

I will  have a few more posts with Christmas cards and then I'll be back in scrapbooking mode after the holidays.  Thanks so much for visiting today!

Card Recipe: Paper-whisper white, real red, Dashing Along DSP, Stamp Set-Star Studded Season, Ink-real red, versamark, Accessories-Gina K Autumn Wishes stencil, holiday pine glitz glitter gel, silver twine, clear embossing powder, cherry cobbler dazzling details

Wednesday, December 18, 2019

O Christmas Tree

Now that I've put that song in your head, I'm ready to share my cards for today, both feature trees, so this seemed like the perfect title!  The first has more of a wintry feel, while the second is quite traditional for Christmas.  I really like both of them!

I used the oval framelits on both because they seemed to frame the focal points perfectly.  I also dug a bit of satin ribbon out of my stash as well. (I really need to use more ribbon...there is so much in my crafty space!)


I managed to find a purpose for a lot of narrow strips of real red paper on the second card. I still have a lot of this size scrap left, but every little bit helps, right?

Well, we are neck deep in finals, but I can see Friday in near future, so there's that to look forward to!  I am so glad you came to visit and hope you have a great day!

Card Recipes: Paper-Home For Christmas DSP, Season of Cheer DSP, real red, very vanilla, soft sky, whisper white, Stamp Sets-Reason for the Season, Evergreen, Ink-mossy meadow, river rock, Accessories-oval framelits, whisper white satin ribbon

Monday, December 16, 2019

Merry Monday- More scrappy cards

Hello! I am back to share more of my holiday cards, and once again, I challenged myself to use scraps!  I am proud to share that I have finished my cards and will be posting them in the days leading up to Christmas. 

I'm also pretty excited that in one week, I won't have to get dressed for work and can enjoy my coffee in my jammies!  Christmas Break can't come soon enough!  I really love my job, but DD1 is home from college and I am enjoying every minute we have together (when she's not running off with her boyfriend and friends).  It will be nice to have a whole day to hang out and make some memories.

My cards today have a rather nontraditional color scheme, but since I love blue, I'm loving these colors together!


This one is a bit more traditional, and I actually used a whole piece of DSP to make six of this style.  I also played a bit with punches and layers on the focal sentiment.


Thanks so much for visiting and have a wonderful day!

Card Recipes: Paper-Snow Festival DSP, baja breeze, cherry cobbler, whisper white, gumball green, Stamp Sets-Joyous Celebration, Crazy for Christmas, Timeless Tidings, Ink-soft suede, gumball green, tuxedo black (memento), assorted markers, Accessories-small oval punch, 2 x 1 3/8 oval punch, decorative label punch, cherry cobbler scallop dot ribbon

Saturday, December 14, 2019

Scrapbook Saturday- Christmas Past

 Hello! I'm changing things up a bit and sharing a scrapbook page I made a few days ago when I was on my scrap using mission.  I have almost used up the whole pack of paper and I'm thinking by next Christmas, I may have most of my older Christmas paper used up.  I have several packs that only have one or two full sheets, and I'm doing my best to use up the baggies of scraps as well, so who knows!

The photo is an old one as well, taken by our church historian on Christmas Eve at the Children's Mass.  She is great about sharing photos, which I appreciate since I'm usually helping at the Children's Masses and can't take my own photos.


A dig through my Christmas accessories turned up the glittery branch cut outs that fit the background paper so well.  I also added a tree shaped tag that came from a gift many moons ago.  It was too pretty to toss and now it has a permanent home.  I also used a vellum quote that fit this page perfectly.

I have one more week of school before my two week break, and I am really looking forward to some down time to refocus on scrapbooking.  DD2 graduates in May and I have lots of pages that need to be done before then! Wish me luck!!

Thanks again for stopping by and I hope you find some time this winter season to slow down and enjoy the creative process!  Have a fabulous day!

Page Recipe: Paper-Holly Berry Bouquet DSP, bits and pieces from my stash of goodies


Friday, December 13, 2019

Flashback Friday-Christmas Stickers and Paper

Hello! I've been digging through my Christmas papers again and found some older DSP and as luck would have it, I had a partial sheet of stickers that coordinated perfectly! SCORE!!
I also went with a tri-fold card base which I haven't used in quite a while! It gave the perfect place for me to add those stickers!!


I'm slowly filling my box with cards and using up all that old paper at the same time!  I just might finish before Christmas after all!

I hope to share the last of my Christmas cards next week! Until then, thanks so much for stopping by and have a wonderful day!

Card Recipe:  Paper-Holiday Treasures DSP, old olive, very vanilla, Accessories-Samantha Walker stickers, pearls, 1 3/4 circle punch

Wednesday, December 11, 2019

Scrappy Christmas!

Hello! I am so glad you are here!  I have more Christmas cards to share today and am proud to say that I used up a lot of scraps on these!  I am so bad at keeping bits and pieces of paper and then not using them. This time I was determined to see how many cards I could make with a pile of scraps. I ended up with one of each pictured, except the Season's Greetings in the second photo- I made four of those!!  It felt great to make a little dent in the baggie of smaller pieces!


I don't really have a lot of explaining for these. I just played around with the pieces until they looked right.  

Thanks so much for visiting and have a fabulous day!!

Card Recipes: Paper-Holly Berry Bouquet DSP, real red, very vanilla, Stamp Sets-Miracle of Christmas, Curly Cute, Sidekick Sayings (all SU), Blessed Christmas (Stampabilities), Ink-chocolate chip, real red, wild wasabi, so saffron, Accessories-ovals framelits collection, chocolate chip ribbon

Monday, December 9, 2019

Merry Monday- Santa's Coming!

Well, hello there! I am so glad you stopped in and if you read the title, you know I have another Christmas card to share.  I'm in a bit of a panic because I am still not finished with my Christmas cards and Christmas will soon be here!

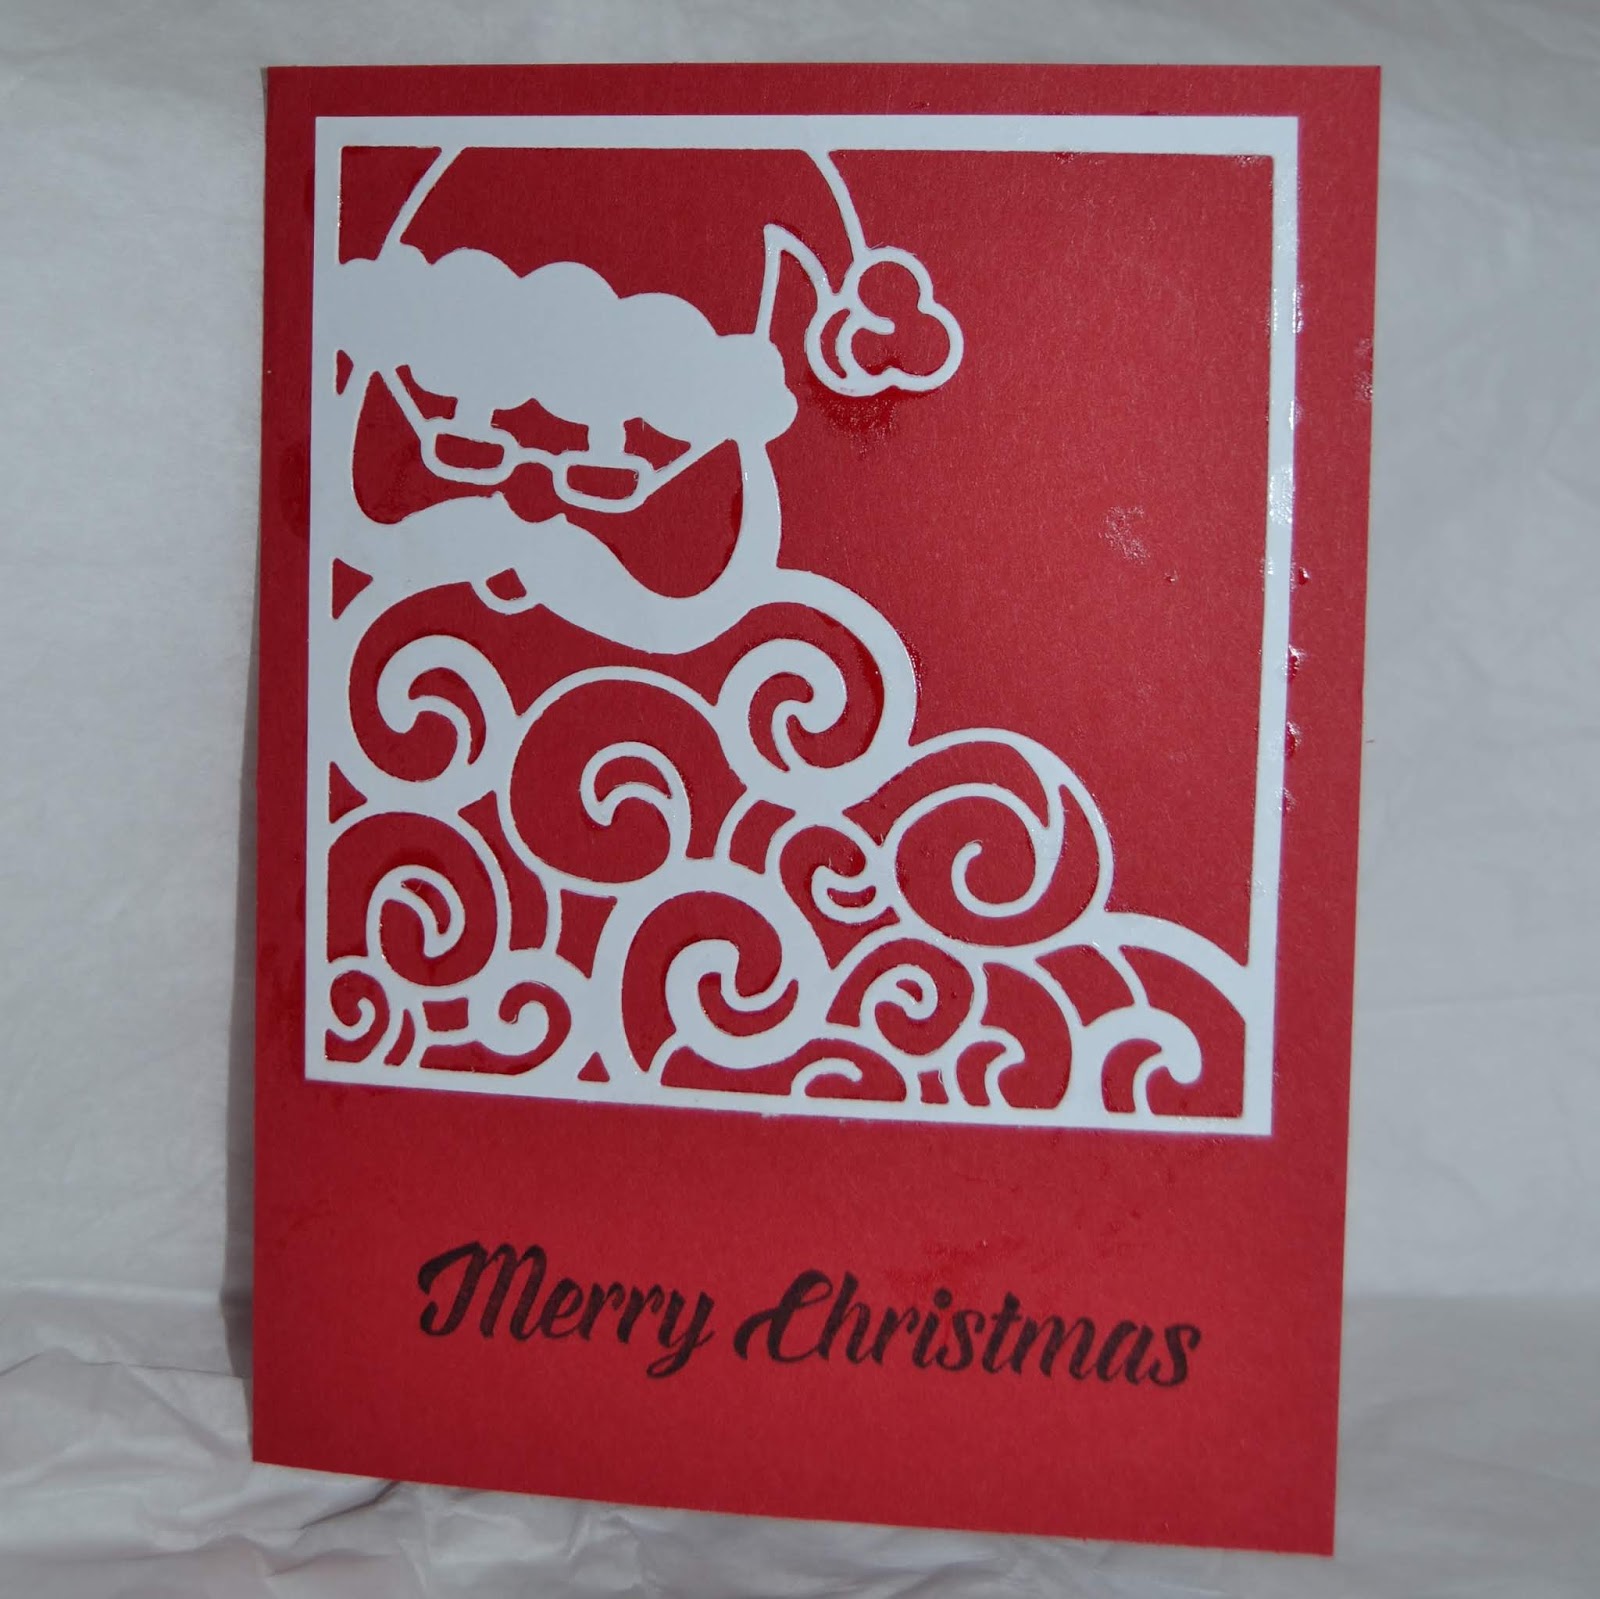
I've been carving some time out to work on them, but between work and all of the other holiday prep, it has been slow going.  Today's card helped me add a few more completed cards to my box and I love how pretty Santa's beard looks on this!  I was worried about how the thinlit would work because I couldn't find the mat that I usually use with my detailed dies, but it cut like a champ.  My real issue ended up dealing with attaching the die cut to the card base.  I used my precision glue, but it was still a bit messy.  I could use the adhesive sheets, but I hate the idea of wasting all of the pieces that are cut away... yes, I know, too frugal for my own good...


Although I wasn't crazy about the shine from the dried glue, I still think these turned out pretty well, and I love the red, black, and white combo.

I will be back Wednesday with more cards, and I'll even have a Flashback Friday for you too!  Thanks so much for visiting and have a great day!

Card Recipe: Paper-real red, whisper white, Stamp Set-Timeless Tidings, Ink-Memento Tuxedo Black, Accessories-Detailed Santa Thinlits

Monday, November 18, 2019

Merry Monday-Frosty Christmas Greetings

Hello! I am back with some super glittery goodness for a Merry Monday! I know I have already mentioned my recent obsession interest in stencils and today I'm showing off the efforts of working with my most recent purchase.  When I saw the Winter Farmhouse stencil from Simple Stories, I had visions of glittery snowflakes against a dark blue sky and looked forward to the day I would get to create this vision!

Our recent snow day gave me the chance to play and I was so happy with the results!  While it took a bit of time to use the stencil and glitter gel, and then more time to let it dry; the finished card has a very simple elegance to it and I love that the shimmery snowflakes are still the 'star' of the show!


I even did a little stamping on the inside so it wouldn't feel too plain!  I had so much fun stenciling that I made ten of these lovelies to add to my box, and I'm a little closer to being finished before Thanksgiving!


I hope you are inspired to do a little stencil magic of your own!  Thanks so much for stopping by and have a fabulous week!

Card Recipe: Paper-night of navy, whisper white, Stamp Set-Special Season (SU), Ink-night of navy, old olive, Accessories-Winter Farmhouse stencil (Simple Stories), white glitz glitter gel (Gina K)


Monday, November 4, 2019

Merry Monday (and not a minute too soon!)

Hello!  While I am not nearly ready for Christmas, I am ready to get those cards going so I'm not rushing around at the last minute!  If all the rest of my cards are as easy and quick as today's I'll be done in no time!

I recently purchased a sheet of paper that had 12 3x4 blocks on it and they were absolutely perfect for making Christmas cards.  I know I made a pledge to use up my stash, but if it helps me get cards created quickly so I can make more pages, well...guess I just had to make the sacrifice! Ha!

I found that some of the blocks worked better with different shades of green, red, or blue, but once I had that figured out, it literally took me minutes to emboss the base and glue the layers together. Easy peasy! There were two blank frames that I stamped with sentiments, but other than the embossing, there really wasn't much to do.  Sometimes it's nice to have pretty papers do all the work for you!


So now I have 12 cards in my Christmas stash.  That's not nearly enough, but it's a start!  Thanks so much for stopping by today. I promise my next MM will have a little more effort put into it!  Have a wonderful week and I hope you find some time to be creative too!

Monday, July 29, 2019

Merry Monday-Mixing the old and the new

Hello!  Through the magic of technology, my blog post should be showing up around the time I'm in my first training for the school year.  I can't believe the summer is almost over...  I still have so much scrapbooking to do... Maybe I can ask for an extension?

Today, I have a Christmas themed page to share with you.  I used a pretty good mixture of older and newer items. The cardstock and two of the pattern papers are older, as is the tag, ribbon, and photo!  The agenda border and the strip under the photo were both from a new paper I bought about two months ago.  This was such a fun page that brought back great memories.  DD2 went on the annual Christmas field trip to a local assisted living/nursing home, and I was able to chaperone.  It was such a great experience for the students and it really warmed my heart to see the generations coming together and enjoying the morning.  Normally shy students were singing with their 'Grands' and even the rowdy kiddos reigned themselves in and enjoyed their new friends.


Thanks so much for stopping in today.  As the school year starts, I never know exactly how much 'free' time I'll have for creating and posting, but I'm going to do my best to keep my 'mental therapy' going throughout the year!  Have a great day and I hope you find some time to be crafty this week!

Wednesday, January 2, 2019

Have yours'elf' a happy new year!

Hello and Happy New Year!  I am sharing one final Christmas project before leaving this wonderful holiday behind.  

One of my co-workers wanted to make something fun for her son's preschool class.  She showed me the picture of the candy cane elves and asked how hard they would be to make.  After a quick look, I realized everything was made with punches and that it would be pretty easy to knock these out.  The only punch I didn't have was the mitten...  She drew, traced, and cut out the mittens and I made the elf bodies and shoes.  She also did all of the final assembly.  The top photo shows a close up of the elves before they were attached to the candy canes and the bottom photo is the finished project.


I knew we did well when her son gave his approval and told us they look just like real elves!  We received our inspiration from Jackie Topa.  If you look up Candy Cane Elves, you can find the directions.  We simplified our version just a little, but I think they are still pretty cute!

I hope your new year is one filled with happiness and peace!  

Sunday, December 30, 2018

Oh 'deer' it's almost new years...

Hello! Once again, time has slipped away and the post I intended for Christmas day didn't happen.  So even if I didn't post, know that I was wishing everyone a very happy Christmas season!  I even had a card to share...

I always try to make some Christmas themed thank you cards to give to friends and family.  This year I went with a very simple idea-a reindeer face.  DH didn't think everyone would immediately see the deer, so I added a mouth.  Of course, the inside sentiment gave it away anyway!


The card was so easy to replicate. The hardest part was using the corner rounder on the top where it was two layers... I created the inside using MDS and a variety of stamps and text I had on the program.

I hope you have a wonderful, healthy, and peace filled new year! Thanks so much for visiting and have a fantastic day!

Card Recipe: Paper-soft suede, basic black, real red, Accessories-3/4 and 1 3/8 circle punches, MDS software program


Thursday, December 6, 2018

Cozy Little Christmas Card

Hello!  I'm so glad you stopped in again!  My mini break taking care of DH has come to an end and I'm back to work again.  It was actually pretty nice having the time to get the decorations up and I even did a little baking.  I didn't get a ton of crafting time though.  However, I did manage to make a few cards using the Snow Festival DSP that was in my paper pile.

This pattern reminds me of a cozy warm sweater that someone's granny may have made as a gift, so I'm going with the cozy little Christmas card theme!  The hardest part was finding a way to add a sentiment without taking away from the sweater theme.  I probably spent over an hour thinking and testing out different ideas.  I finally settled on the layered circle oval with a little soft suede distressing around the edges to make them stand out from the white and baja breeze on the pattern.  It took me another 10 minutes to get the right sharpie shading for the enamel dots so they went with the colors as well.


I ended up making 6 of these and now I think my card stash might just be complete!  Now I just need to get those Christmas stamps purchased and address those envelopes... Wish me luck!!

Thanks so much for stopping by and I hope you have a wonderful day.  Happy crafting!  For my fellow Christians of German descent, Happy Feast Day of St. Nicholas! Hope he brought you something wonderful!

Monday, December 3, 2018

Handmade for the Holidays

Hi!  I have something a little different to share with you today.  Every year, my daughters participate in our family's Thanksgiving Day ornament swap.  My girls create their handmade ornaments, wrap them, and join in the Sneaky Santa game played to receive new ornaments.  My Mom and her sisters still get together for Thanksgiving, so it's a pretty big crowd and the game is always a lot of fun.  Most players bring purchased ornaments, so the handmade ones are quite unique and always a crowd favorite.  

DD1 loves to embroider and wanted to use embroidery on her ornaments.  She was trying to think of a way to frame her pieces, when she received inspiration from a beautiful handmade ornament I received from a dear blogging friend, Heather.  She loved the idea of using the canning rings as a frame and quickly set to work creating her rustic Christmas ornaments.

DD1's ornaments

Heather's ornament


DD2 enjoys making things out of paper and found materials, so she created three tag style ornaments using wood tags as her base and applying pretty Christmas papers.  She really liked the poinsettia I made for my scrapbook page and wanted to make her own to go on the tag. 

DD2's ornaments

I think all of these ornaments are absolutely beautiful! Now I just need to convince my DDs to make a few extra ornaments to add to their mother's tree!

Thanks so much for visiting and I hope these talented people inspired you to make some lovely decorations for your own tree, or maybe even to give as gifts!  Have a wonderful week, and for those who celebrate Advent with me, Happy First Week!