Showing posts with label eyelet border punch. Show all posts

Tuesday, February 4, 2020

Perfect Prom

Hello! I'm apologizing in advance for the poor photo quality... It's been a bit gloomy here and I struggle to take good page photos unless it's sunny.

I dressed things up a bit today because, well...it's prom!


This could count as a flashback page because everything on here but the glittery mats are old treasures from my stash.  I almost forgot about the metallic silver paper, but when I was looking for glittery paper I came across it and thought it would be a great addition to the page.  All the punches have been in my supplies for a very long time, and the background is part of a peacock paper pack I bought long ago to make cards for my mom.

I had to smile as I made this page because even though tearing her ACL and ending her varsity tennis season was devastating for my daughter, we had so many people that reached out to check on her, pray for her, and offer to help any way they could.  DD was also very upset that prom was only days away and she wouldn't be able to wear the glittery shoes she loved so much and dancing the night away was not likely since she was on crutches. Definitely not the accessory she was wanting... I made a desperate call to our local plant nursery who also does floral arrangements.  The owner told us to stop by after school and she would fix something.  When we left her shop, DD had a beautiful bouquet to bling up her crutches a bit.  DD was so moved by her kindness and ended up having a great evening in spite of her circumstances.  Sometimes the most imperfect things turn out perfectly fine...

Thanks so much for visiting and have a great day!

Sunday, October 20, 2013

Orange and Black Challenge at ABAC- It's My Turn!

Hello! I am so glad you're here!  We are winding down our orange and black challenge at Anything But a Card Challenges.  I hadn't shared a scrapbook layout for our challenges in quite some time, and the orange and black colors seemed so perfect for a Halloween layout.  Unfortunately, I don't currently have any Halloween pics to scrap, so I made a page that will hold a standard 4x6 photo and now I will have a page all ready to go when my photos are printed!  I don't usually do this, but I'm glad I have a bit of a jump start!


This layout is a nice mixture of some new goodies and older supplies.  The black and very vanilla colors in the Modern Medley DSP were perfect and I had so much fun playing with the splatters in the Gorgeous Grunge stamp set!  The orange base, buttons, and letter stickers were some oldies from my stash.  The letters were white and I inked them up with a little tangerine tango ink to coordinate with the buttons and paper.

I hope you have enjoyed my page and don't forget that there is still time to join us with your very own orange and black creation!  Have a wonderful week!

Page Recipe: Paper-orange from stash, very vanilla, basic black, Modern Medley DSP, Ink-
tangerine tango, stazon black, Stamp Set-Gorgeous Grunge, Punches-large scallop circle, 1 1/4 scallop circle, eyelet border, Accessories- Sweet Stitches buttons (ret)

Friday, September 28, 2012

Color Me Beautiful Challenge #5 and a Flashback Friday (sort of)

It's Friday again! Funny how they keep coming around isn't it?! Although I have to say that this week's Friday couldn't have come at a better time! It has been one crazy week at work and that usually means very little crafty time for me!  We have been expanding our programs at work until we no longer have any room to grow and were blessed to have a building donated to us for relocation.  Unfortunately, this wonderful gift has been sitting empty for years and needed MAJOR renovation.  Most of this was completed by skilled laborers who donated their time, but now we are at the painting and finishing stage and that means all able bodies get to do some volunteering during their off time.  I painted my NEW classroom yesterday with my wonderfully understanding DH who has been so awesome through all of my stressed out and worn out days!  I am so glad that we are finished with that lovely project!  My next volunteer project will be the playground and landscaping-way more fun!!  But enough of my chatter... On to the Color Me Beautiful challenge!

And what a gorgeous color combination it is!! I really don't know where Carole and AnnMarie come up with these wonderful inspirations, but I want to visit all of the photo locations!!!


Doesn't this make you feel so peaceful?  I can only imagine the incredible scent of lavendar that would come from a field like this and just listen to the wind swishing through the wheat... Ahhhhh......

and here are your colors to play with...

I knew as soon as I put these colors together that my card would have a nature theme.  I hate to admit that I do not have river rock OR sahara sand inks... Must remedy that! That left out a lot of stamps that I considered using and then I remembered my retired butterflies.  I know that many demos sell the stamp sets once they retire, but I have several that I refuse to part with because they are just so versatile and wonderful.  Butterfly Prints is one of these sets. Guess this kind of makes my card a Flashback Friday too!

This card is something of a double CASE. I made a card extremely similar to this here and that card was inspired by my upline Kelly's card.  My photography for this one is horrid! It was pouring down rain and my indoor lighting does nothing to enhance the beauty of the vanilla smooch that is spritzed on the entire card (looks more like blobs, here...) and the river rock layer is stamped with the flowers from another stamp set using versamark. You can barely make them out if you squint, get really close to the screen, and stand on one leg! LOL!

Well, I hope my terribly photographed card has encouraged you to visit Color Me Beautiful and see the better quality photos of the rest of the team! Quite a talented bunch, and I am amazed at the gorgeous creations that get linked up each week!! So if you have some time and want to play, we would love it if you would join in the fun!

Hope you have a fabulous weekend full of lots and lots of crafty time!!

Card Recipe: Cardstock-sahara sand, river rock, wisteria wonder, elegant eggplant, whisper white, Ink-elegant eggplant, wisteria wonder, Versamark, Stamp Sets-Butterfly Prints (ret), Language of Friendship, Accessories-butterfly punch (ret), eyelet border punch (ret), elegant eggplant scallop dots ribbon, Vanilla Shimmer Smooch spritz

Friday, June 8, 2012

Flash Back Friday- Rainbow Sherbet

I found a package of DSP from long ago that had barely been touched.  I have to admit, this card was a bit of a challenge as the colors did not immediately appeal to me.  They must have at some point, but I'm not sure when that was...

One of my best friends and co-worker will be celebrating her 30th birthday soon and her favorite color is green, so I started thinking 'Can I make this work?'.  Here is what I came up with...


When I first saw the original brights from SU, I loved them.  They were perfect for scrapbooking the pages of my little girls.  Now, I am so glad they have revamped them to be more trendy.  I like the way this card turned out, but I'm also glad I don't have to use green galore on a regular basis! Talk about bright!!

I really did a lot of digging in the stash for this card.  I found a sheet of green galore and gable green in my 'leftovers' drawer, and some digging through my embellishments turned up an old container of the original brights buttons! Perfect!!  To balance out all of the retired items, I did sneak a brand new stamp set onto this card! Memorable Moments is such a fantastic set! It's perfect for those milestone birthdays and anniversaries and I love that it coordinates with the label framelits!  This set will be seeing a lot of ink!!

Hope you have a marvelous weekend and happy crafting!!

Card Recipe-Paper-whisper white, Stamp Set-Memorable Moments, Punch-eyelet border, Extras-white bakers twine, labels framelits, Stash Supplies-green galore and gable green paper, Rainbow Sherbet DSP, buttons

Monday, May 28, 2012

Scrapbook Monday- CYC

Every year since my oldest DD has been in 5th grade, we have made the trip to Gatlinburg, TN with my sister for CYC (challenge youth conference).  Some years, there is a large group that goes from her church, and others, it is a much smaller group. Regardless of how many are attending, we always have a wonderful time, gain some new insights into our faith, and spend a lot of quality time together.


The pictures on this layout show some of traditions of our CYC trips.  I love the view of the Smokeys as we enter Sevierville, especially when they are snow covered! The gentleman in the middle pic is our favorite presenter.  He has an incredible talent for drawing you into a personal story filled with humor and adventure,  and then when you least expect it, he gives you the Biblical version of his story. It has helped my daughter (and me) to see that God is so much a part of our every day lives if we only take the time to look for him. The sign in the last pic has been the setting for the final picture of the weekend for years.  My sister has pictures of her little boys in front of the sign.  They are all now grown men!

I used up some stash items on this layout.  I have tons of 12x12 cardstock from various makers and I am determined to use all of it up, eventually! The stickers have been around for quite some time too!

Layout Recipe: Stamp Set- Just Journaling (ret), Ink-black Stazon, Punch-eyelet border, *paper and stickers are from stash

Thursday, May 17, 2012

Out of the Box for Mother's Day

I am officially on summer vacation!! I can not tell you how wonderful it is going to be to sleep in the next few days!  But enough of me rubbing my good fortune in your faces!!

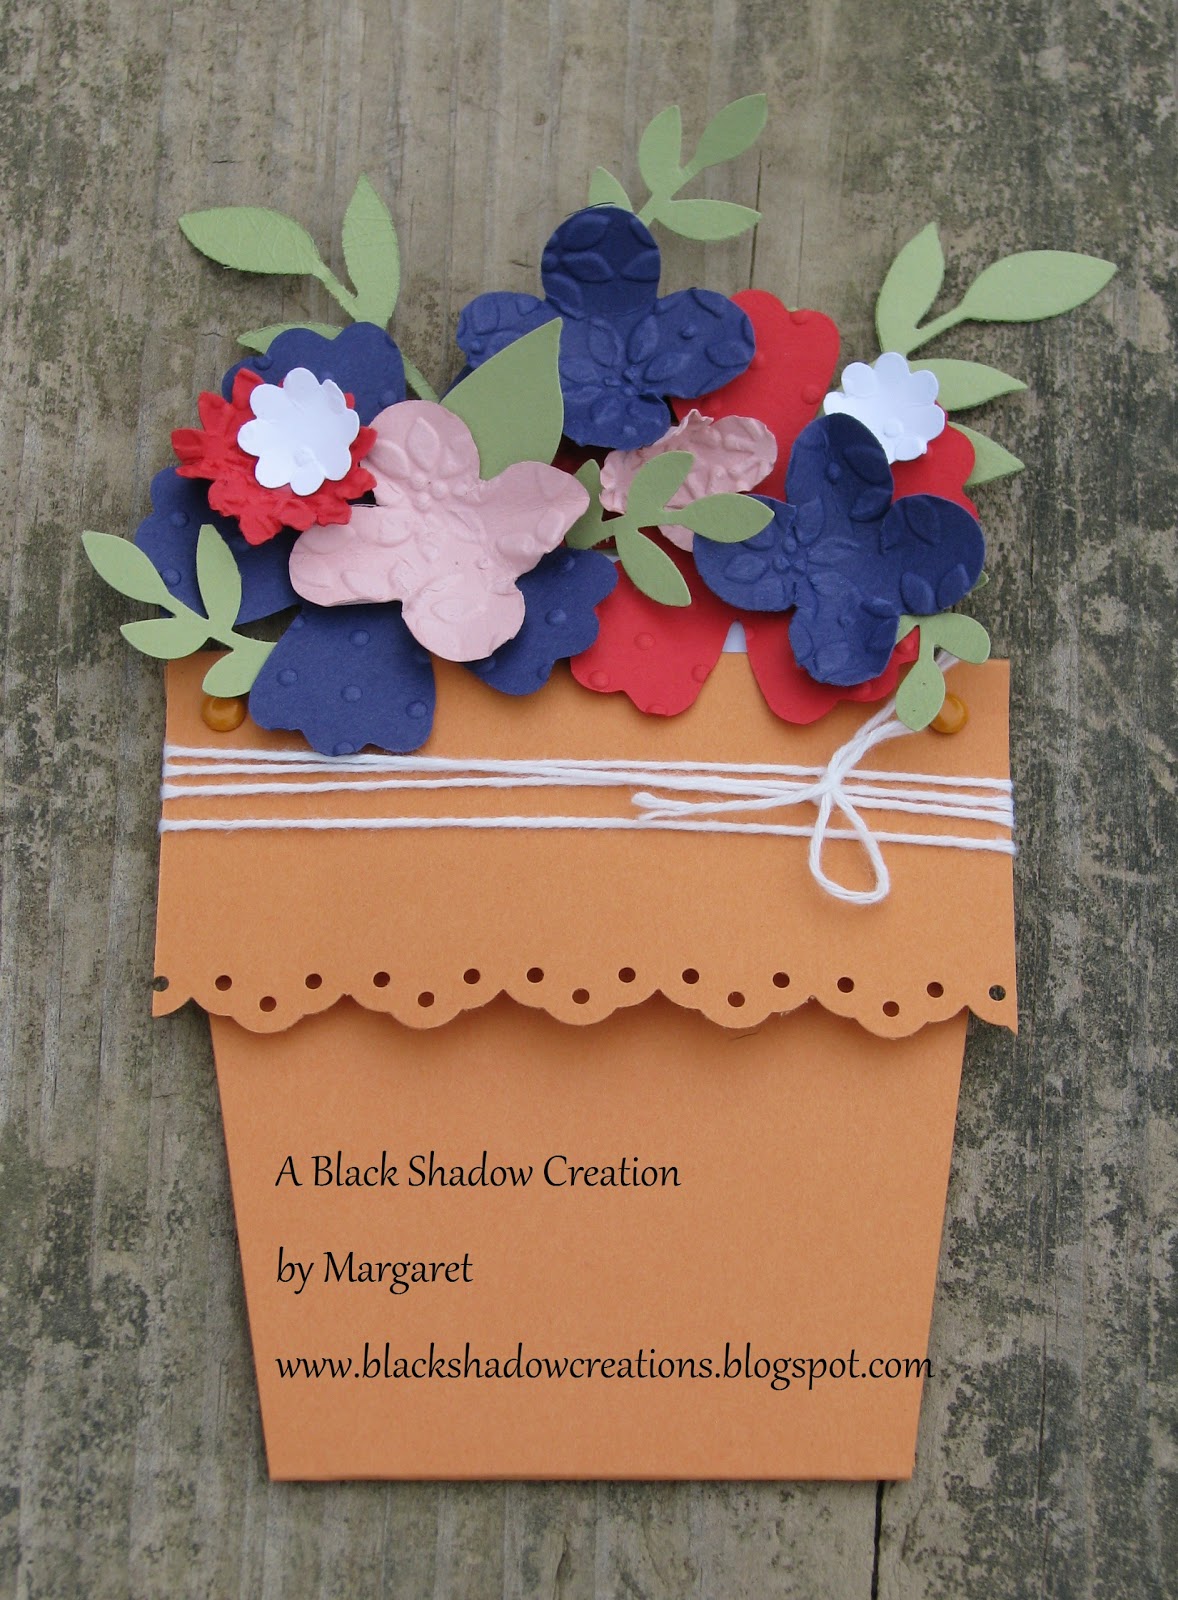
Last weekend, I needed to make a couple of Mother's Day cards for Mom and my MIL.   I have seen flower pot cards on different blogs, but never saved a link.  I went to Pinterest to see if I could find one with instructions.  *Here's a little background on me... I'm not sure why, but I tend to make most of my cards the standard size.  I've done a some square cards and even a few shaped cards, but I always end up going back to good ol' 4 1/4" x 5 1/2".  And my cards ALWAYS  fit in the envelope (stop laughing, Lisa M, don't you judge me!!).  So I was trying to stay away from any designs that would be too big.  I found the perfect one here and Brenda's step by step instructions were fabulous! Even better, it would fit a standard card envelope!

So I got busy cutting and scoring the pot, making the insert and then the fun part-the flowers!!  I wasn't sure how many I would need and didn't want to stop to make more after I started assembling so I made a nice variety to choose from. Then something incredible happened, well at least for me...  I went crazy! I kept adding more leaves and flowers and absolutely loved how it was turning out.  I finally hit a point where I looked at it and thought 'OK, I'm finished.'  Then it hit me... There was NO WAY this was going to fit in a standard envelope!!!  I had completely stepped out of my comfort zone, had a wonderful time, made a card both Moms would love, and I had no idea how I was going to present it to them!  Luckily after a little digging, I found some larger envelopes, left over from who knows what, and there was enough room to slip the cards in without squishing them.  Problem solved!  I'm just glad I didn't have to mail these!


I decided to use all of the retiring In Colors on this card.  I absolutely love pear pizzazz, but hadn't really used a lot of the other colors.  I'm also hoping I haven't forgotten any of the supplies.  It was a bit of a whirlwind of creativity on this one!

If you would like to recreate this card, I highly suggest clicking on the link above! Her directions and pictures really made this easy to create!

Card Recipe: Cardstock-2010-2012 In Colors, whisper white, Ink-pear pizzazz, concord crush, Stamp set-Fresh Vintage (from SAB), sentiment-unknown, Accessories-bakers twine, Boho Blossoms punch, eyelet border punch, bird builder punch, fun flowers die, floral fusion and little leaves sizzlit dies, square lattice folder, perfect polka dots folder, petals a plenty folder

Saturday, March 24, 2012

A New Challenge Blog!


It never ceases to amaze me how you can find so many amazing challenge blogs just by reading other crafty people's blogs.  Makes life so much easier than aimlessly searching!  Through two different blogs, I located Twisted Tuesday Challenges.  This site is brand spankin' new and they are having a DT challenge.  Since I only found it last night, I am squeaking my entry in at the very last minute!!  The DT challenge was to use pastel/spring colors with black added somewhere and the twist is the creation must be square.  Well, I don't often do square cards and I was rolling ideas around in my head when the word creation popped out at me.  It did not say it had to be a card... So here is my scrapbook layout meeting all of the requirements!


I used the sketch from Simply Stampin' Challenge.  See the pretty daffodils?  I learned how to make these from  Amanda.  Just use the 5 petal flower  and the Boho Blossom punches!  I inked the edges of the cup with pumpkin pie ink for a little contrast.  The pics show off the beautiful blooms on our trees. I love the color that bursts out in spring!!  It makes it so easy to find inspiration! Well, it was a little last minute, but I'm pretty happy with it and I have another page completed! YAY!! Wish me luck!

Page Recipe: Cardstock-wisteria wonder base, basic black, whisper white, certainly celery, barely banana, Lap of Luxury DSP (ret), Ink-whisper white (craft), pumpkin pie, daffodil delight, certainly celery, Stamp Set-Broadsheet Alphabet, Extras- 5 petal punch, Boho Blossom punch, eyelet border punch, certainly celery ribbon (ret), dimensionals

Monday, February 13, 2012

Scrapbook Monday-Christmas

I am super proud that I've managed to stick with my resolution so far!  It has helped me get over half of my 2011 pictures scrapbooked, and it's only February!!  My girls have been enjoying looking at pages without saying "When was that?" or "Where were we?"!

Today's page is from Christmas.  Now don't get all excited, I'm not almost finished with the year! I've been jumping around to different occasions as the inspiration hits and this time it just happens to be Christmas.  Tomorrow it might be Easter, Halloween, or some random moment!


The stockings were an afterthought.  I wanted to punch all four sides of my journaling block with the eyelet border, but the corners were off just enough to make me not like it! So, as the saying goes... "There are no mistakes in paper crafting, only times for embellishment!"  In the end, I really like the sparkle the stockings added to the page.  It was also the only Stampin' Up! supplies I used other than the eyelet punch!  I am slowly but surely making a dent in my hoarded scrapbook paper and stickers!


Well, today I'm feeling rather old.  My oldest DD is officially a teenager today!  Isn't it funny that my birthdays don't make me feel older, but my kid's do?  She is picking the place for dinner tonight, which is a bonus for me since I won't have to cook dinner!  I'm just glad we've moved past the age of choosing McDonalds!!

Page Recipe: Cardstock-red glimmer paper, and stash goodies, Accessories-stocking builder punch (ret), eyelet border punch, stickers from stash

Wednesday, January 18, 2012

Shaking the 411

I love checking out the sketches at Stamping 411, but don't seem to find time to play along as often as I would like.   This week, the sketch was just too appealing, and when I saw that Hand Stamped Sentiments had a challenge to make a shaker card, I thought the two would work well together!  This is my first EVER shaker card and it was a very easy technique thanks to my shaker frames!!
The funky dotted border was made using the eyelet border punch.  I had estimated my strip of paper a little too narrow, but when I looked at it, I thought it looked pretty cool anyway!


A close up of the shaker window and all of it's glittery goodness...


It's almost my bedtime, so I'm going to cut this short and hurry off to link it to the two challenges! Thanks for visiting!

Card Recipe: Cardstock-old olive, marina mist, whisper white, Paisley Petals DSP, Ink-marina mist, Stamp Set-Precious Butterflies, Accessories-2 3/8 scallop circle punch, eyelet border punch, 3/4 circle punch, snowburst embossing folder, basic pearls, dazzling details, shaker frame, glass and fine glitter