Showing posts with label Ornaments. Show all posts

Monday, December 3, 2018

Handmade for the Holidays

Hi!  I have something a little different to share with you today.  Every year, my daughters participate in our family's Thanksgiving Day ornament swap.  My girls create their handmade ornaments, wrap them, and join in the Sneaky Santa game played to receive new ornaments.  My Mom and her sisters still get together for Thanksgiving, so it's a pretty big crowd and the game is always a lot of fun.  Most players bring purchased ornaments, so the handmade ones are quite unique and always a crowd favorite.  

DD1 loves to embroider and wanted to use embroidery on her ornaments.  She was trying to think of a way to frame her pieces, when she received inspiration from a beautiful handmade ornament I received from a dear blogging friend, Heather.  She loved the idea of using the canning rings as a frame and quickly set to work creating her rustic Christmas ornaments.

DD1's ornaments

Heather's ornament


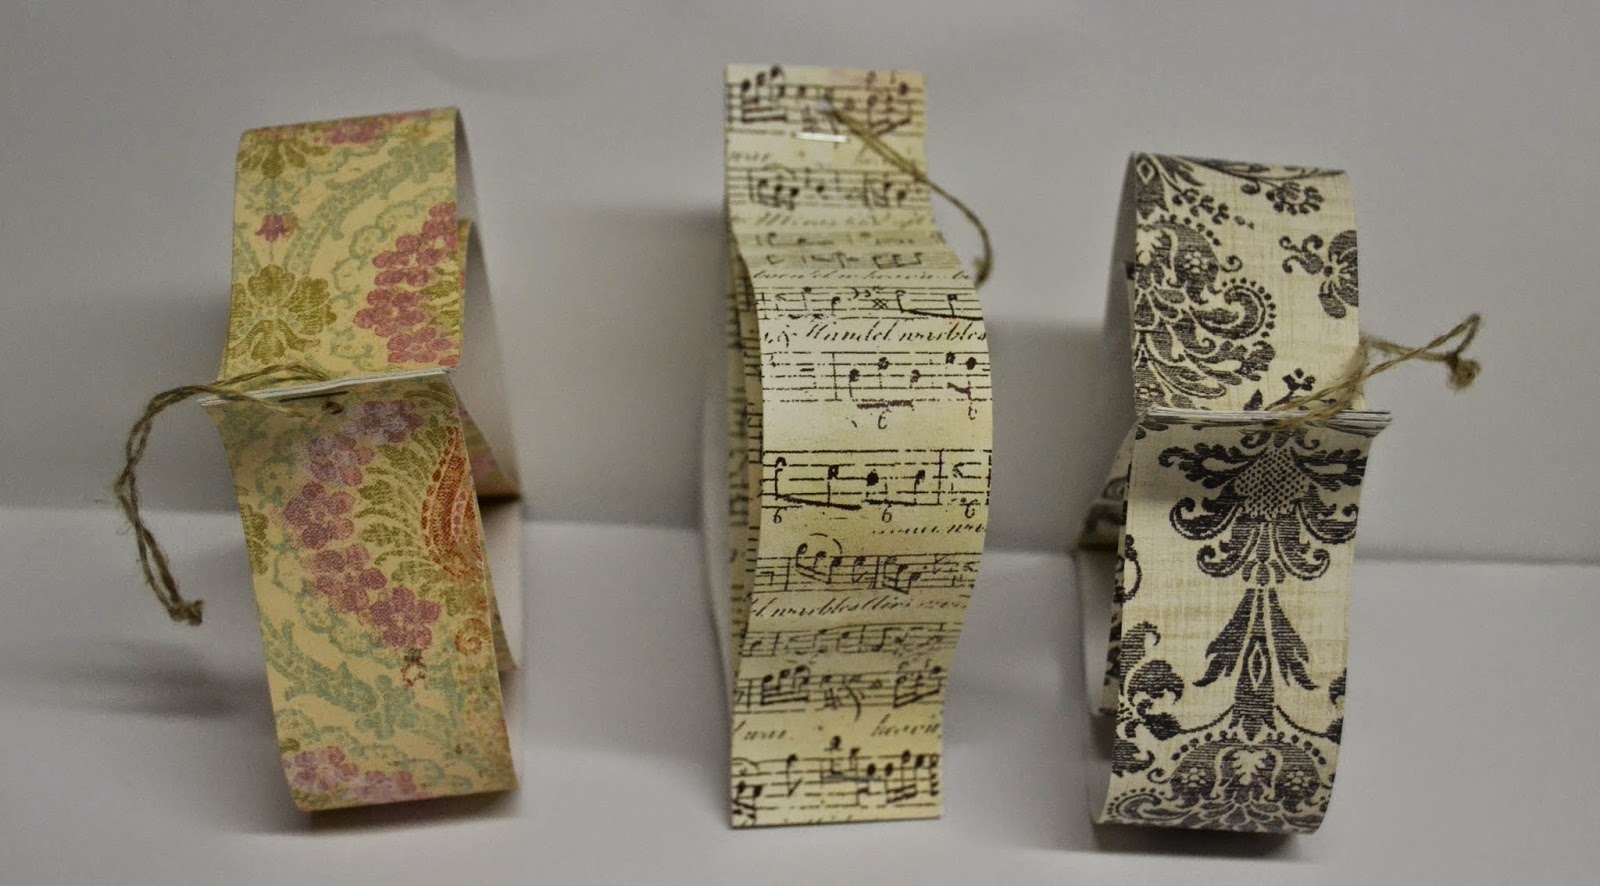
DD2 enjoys making things out of paper and found materials, so she created three tag style ornaments using wood tags as her base and applying pretty Christmas papers.  She really liked the poinsettia I made for my scrapbook page and wanted to make her own to go on the tag. 

DD2's ornaments

I think all of these ornaments are absolutely beautiful! Now I just need to convince my DDs to make a few extra ornaments to add to their mother's tree!

Thanks so much for visiting and I hope these talented people inspired you to make some lovely decorations for your own tree, or maybe even to give as gifts!  Have a wonderful week, and for those who celebrate Advent with me, Happy First Week!

Thursday, November 26, 2015

Happy Thanksgiving and ornament time

Hello! I am barely squeezing this post in to wish my US friends a happy Thanksgiving!  We have eaten our fill and I had a few minutes before retiring for the evening and wanted to share a little something crafty.

Every year, my mom and her sisters get the families together for a Thanksgiving dinner.  It tends to resemble a reunion more than Thanksgiving, but we always have a wonderful time together.  There is also an annual ornament swap that happens after the meal.  Anyone wanting to participate brings an ornament or two and then they swap 'sneaky Santa' style.  My girls starting making their own ornaments for the swap several years ago and while there was quite a bit of help from Mom in the beginning years, DD#1 has managed to make her own with only a bit of suggestion from me this year.  Here are her ornaments...


She used the Season of Cheer dsp and started with a punched circle (you can't see it in the photos, but it's the base) and used 2x2 squares rolled into cones to go around the circle.  Then she used the Rosette die to make the rosette you see in the center.  A button with the shank cut off was added to the center to finish it off.

I will try to share DD#2s ornament soon.  I didn't get a photo of it before it was given away, but she is making a few more for gifts, so I will get a picture when they are completed.

I hope you have enjoyed my crafty girl's ornaments and want to wish you the happiest of Thanksgivings.  Our family has been so blessed this year.  Even when we were dealing with difficult decisions and saying goodbye to loved ones, there was always something or someone reminding us that we have so much to be thankful for and that tough times don't last forever. It has reminded me that the little everyday things are what really matters in the end and hopefully this will keep me on the right track as we prepare for Christmas.  I'm going to try to be more focused on the purpose of my actions and gifts instead of stressing over what I think I need to get completed before the big day arrives.

Thanks so much for stopping by and I look forward to sharing more creativity with you in the future!

Wednesday, December 3, 2014

Giving thanks and making ornaments

Oh, my poor blog has been so neglected lately!  Seems like crafting and blogging has been getting put on the back burner more and more.  However, Christmas will soon be here and this almost always gives me a good excuse reason to be creative.  I have several things in the works and have managed to partially complete several projects, but since none of them are finished yet, I have no photos to share.

I do have some handcrafted ornaments that my girls made for our annual Thanksgiving/family reunion.  DD#2 is always so organized and knew what she wanted to do and had things to make them well in advance.  She would have been finished weeks before Thanksgiving if her mother had been more on the ball!  But I did manage to get her the rest of the materials she would need for her altered cookie cutter ornaments.

a gingerbread man complete with pearl decorations

Santa with his pack of goodies

After she finished, we discussed that a bit of glitter or sparkle would have really dressed these up.  She still has a few she will be making as gifts, so we'll have to see what she does with them!

DD#1 is most definitely her mother's daughter!  She was frantically finishing her ornaments Thanksgiving day!  Luckily, she went with a fairly simple paper ornament.  She is thinking about putting a decorative punch edge on the next ones she creates.

It was hard to get a good photo showing just how
pretty these were...  I love the papers she chose!


I know I am quite late with my Thanksgiving wishes, but shouldn't we be thankful every day?!  This year has been quite chaotic and it seems like we have very little down time, however, there have been so many positives for us that all of the stress has been viewed as a 'strengthening of the irons'.  My job has been quite the adventure this year and I am usually exhausted at the end of the day, yet it has also been so rewarding.  I am neck deep in the realization that I can make small differences that lead to great things for others.

I was also reminded of how amazing my girls are (moms need that sometimes).  We always sponsor a child at Christmas through our church's giving tree.  We do our best to get the things on the wish list while still keeping with our budget.  The girls were so caught up in shopping for a little girl they had never met (and probably never will) that the gifts were over our budgeted amount.  They both agreed that we could spend less on them so the little girl could have everything they picked out for her.  DD#2 even told me that she no longer needed us to get the game she had asked for.  She was going to save her own money and decide if she really needed it.  I love all of the little Christmas miracles that seem to happen every year!

My goal this Christmas is to make gift giving more meaningful.  Of course, this has added a lot more baking and creating to my list, but I'm looking forward to opening my busy schedule to do some fun things with my kids and sharing the love with others.

Well, it is past my bedtime and tomorrow is another busy day.  I hope you are also counting your blessings and preparing to celebrate this season with love in your heart! I also hope that you have a bit more luck than I at finding time to be creative! At least there is always Christmas break!  Thanks so much for stopping by! I am so thankful for all of my blog friends and visitors!

Friday, December 6, 2013

Day 6- Another Dishing Divas Meeting and some pretties

Hello! I'm so glad you stopped by to celebrate the 6th Day of Accomplishments!  I'm slowly getting things finished as we prepare for Christmas and a few other special occasions this month!  Our family must have managed to stay under St. Nick's 'naughty' radar, because we woke this morning to find some yummy chocolates and candies in our stockings! Phew!! I'm beginning to think he grades on a curve and we manage to fall within the 'pretty good' section...either that or he's just very forgiving!

Monday was our monthly Dishing Divas meeting where we sample yummy food, make a few crafts, and at the end of this club, we will receive a hard bound recipe book of all of the delicious meals.  This month, I was in charge of creating two main dishes.  There really aren't any boundaries of what we make as long as it's fairly easy to put together.  I  decided to make one of my tried and true quick dishes and also tried out a new recipe from Pinterest.  Pizza Bake is one of my families favorite meals and I love that it takes very little time to put it together and then it goes into the oven to bake.  Taco Pizza was a new one for me, but it was also super easy and pretty tasty too.  I think I will add a few more toppings when I make it next time.

After we ate, my upline Tiffany, had the crafts ready for us.  We made a country style ornament that was so cute, and a fun little treat bag with a few chocolates inside.  As much as I loved the ornament, I am going to change this one up a bit.  On the drive home I was debating if I really wanted all of that fabulous burlap ribbon stuck inside the ornament or if I wanted to pull it back out and reuse it on something else.  Then I started imagining what could go in its place.  You will have to stay tuned to see how that turned out!

The ornament-Isn't that ribbon pretty?


The cute little treat bag...


If you are interested in the recipe for the Taco Pizza, go here.  My Pizza Bake is an old Pampered Chef recipe, and honestly, I haven't looked at it in ages, so my measurements are more like suggestions than rules...

Pizza Bake
2 cans crescent rolls
1 lb. ground beef
1 tsp Italian seasoning
1 tsp garlic powder or 2 cloves minced fresh garlic
1 small jar pizza sauce
1/2 c. shredded Cheddar cheese
1 c. shredded Mozzarella cheese

Preheat oven to 350*.  Brown the ground beef in a skillet, adding Italian seasoning and garlic when beef is almost done.  Drain any grease from the beef.  In a 9x13 pan, roll out one can of crescent rolls, covering the bottom of the pan. Spread the ground beef over the crescent rolls, cover with pizza sauce, and sprinkle cheeses over the top.  Roll out the second can of crescent rolls and completely cover the cheese with them.  Bake 25-30 minutes or until crescent rolls on top are a golden brown.

Well, that's it for me today! I hope you have a wonderful weekend and that you are able to accomplish things that make you happy!

Tuesday, December 3, 2013

Day 3 of the 25 Days of Accomplishments-Ornaments!

Once again, this post is also a bit of a cheat as we actually had them completed by Thanksgiving.  Tomorrow will begin the actual crossing things off the list!

Today's project features the artwork of DD#2 and once again DH was roped into helping us!  This time he was the master of the white spray paint!  And such a fine paint job too!!


We actually got the bottle caps from my dad's sister, so we owe her an ornament too!  DH painted the caps white, but the gold coloring kept bleeding through, so he ended up spraying these THREE times- the first coat that didn't take, the primer coat, and the final coat, and then we added the spray glitter!  I am so glad this was all completed in his shop and not my kitchen!!!!  He was actually very pleasant about the whole process and even gave us a thumbs up on the finished ornaments!  I cut the green ribbon and tied a loop using bakers twine, then DD#2 glued the bottle caps to the ribbon and let them dry.  The next day the faces and buttons were made using acrylics, and the snazzy red ribbon was added as a lovely scarf!  I know you can't tell from the photo, but these are absolutely SPARKLY!!!

I hope you have enjoyed seeing my girls ornaments and maybe they inspired you to make your own tree decorations this year!  I'll be back tomorrow with another project.

Project Recipe: bottle caps, satin white spray paint, glitter blast glitter spray, acrylics, gumball green ribbon, real red stitched ribbon

Monday, December 2, 2013

She's makin' a list and checkin' it twice...

No, I'm not disputing that Santa is a dude...  I'm referring to myself and my dire need to stay on top of things as we go into a very busy month!  While I don't usually stress too much about Christmas (things always have a way of working out), this year is a little different.  Not only is my nephew is getting married on the 28th, but I just received an invitation to a shower for my niece who is getting married next Feb.  Guess when her shower is?  December 15th...  So now my already busy schedule just got a little busier!

I decided that this would be a good year to try something new, so I am going to try to post something new every day this month.  At first I was debating whether this would add to my already long list, but I'm hoping that knowing I have to post something will help me stay on task with the homemade items that need to be finished on time.  Wish me luck!

Since I already posted yesterday without even thinking about this, today is officially Day 2 of my countdown.  Maybe I shouldn't call it a countdown... too much pressure in that name!  How about the 25 Days of Accomplishment? Now that has a very positive sound!!

So here is today's item (and I'm cheating a little) that was actually finished before Thanksgiving.  Every year my mom, her sisters, and all of the offspring get together for dinner.  It is quite a large crowd now and we love visiting cousins that we normally wouldn't get to see.  We also do a Sneaky Santa ornament exchange.  Many of you already know that my girls started a tradition several years ago of making their own ornaments for the exchange.  The Aunts love seeing what they have made for each year and the occasional battle for the handmade has been known to occur.  Last year we actually recreated an ornament for each aunt so no one would feel left out!

DD#1 did a scan on Pinterest and knew immediately what she wanted to make.  Fortunately, I had almost everything we would need.  Only thing missing was the 'canvas', but during our girls day out, we found just the right things at a 'pickers' store.

the blank canvas that turned into...

snow women spoon ornaments!


This actually turned into something of a family project. DH, who usually runs and hides when we get crafty, didn't make his getaway fast enough!  We asked him if he had any tools we could use to bend the handles. I knew that he would rather do this himself than allow us to play with his 'toys' and it would probably be easier to do it than to explain how to do it.  He did a fabulous job!  In an effort to speed the process, I made the felt hats as DD painted the spoons.  She did add the chalk to the edge to make it stand out more and glued them to the spoon to keep them from slipping off.  Over all I think she was quite pleased with the end results!  Now we just have to make a few more for Grandma and DD's two aunts, and me of course!

I will be back tomorrow with DD#2's ornaments!  Have a wonderful day!

Project recipe:  old spoons, assorted acrylic paints, black felt, brights buttons, white bakers twine, white pastel