Showing posts with label oval framelits. Show all posts

Wednesday, December 18, 2019

O Christmas Tree

Now that I've put that song in your head, I'm ready to share my cards for today, both feature trees, so this seemed like the perfect title!  The first has more of a wintry feel, while the second is quite traditional for Christmas.  I really like both of them!

I used the oval framelits on both because they seemed to frame the focal points perfectly.  I also dug a bit of satin ribbon out of my stash as well. (I really need to use more ribbon...there is so much in my crafty space!)


I managed to find a purpose for a lot of narrow strips of real red paper on the second card. I still have a lot of this size scrap left, but every little bit helps, right?

Well, we are neck deep in finals, but I can see Friday in near future, so there's that to look forward to!  I am so glad you came to visit and hope you have a great day!

Card Recipes: Paper-Home For Christmas DSP, Season of Cheer DSP, real red, very vanilla, soft sky, whisper white, Stamp Sets-Reason for the Season, Evergreen, Ink-mossy meadow, river rock, Accessories-oval framelits, whisper white satin ribbon

Wednesday, December 11, 2019

Scrappy Christmas!

Hello! I am so glad you are here!  I have more Christmas cards to share today and am proud to say that I used up a lot of scraps on these!  I am so bad at keeping bits and pieces of paper and then not using them. This time I was determined to see how many cards I could make with a pile of scraps. I ended up with one of each pictured, except the Season's Greetings in the second photo- I made four of those!!  It felt great to make a little dent in the baggie of smaller pieces!


I don't really have a lot of explaining for these. I just played around with the pieces until they looked right.  

Thanks so much for visiting and have a fabulous day!!

Card Recipes: Paper-Holly Berry Bouquet DSP, real red, very vanilla, Stamp Sets-Miracle of Christmas, Curly Cute, Sidekick Sayings (all SU), Blessed Christmas (Stampabilities), Ink-chocolate chip, real red, wild wasabi, so saffron, Accessories-ovals framelits collection, chocolate chip ribbon

Wednesday, February 28, 2018

Happy birthday, Old Soul...

Hello! I am so glad you stopped by!  I have something a bit special to share with you today!  February is one of those months that has a ton of family birthdays in it.  I managed to have most of the cards completed over the holidays, but saved one for later.  I always seem to put off making my kids cards to the very last minute (maybe trying to slow the aging process?), and while this card was finished in time for her big day, it was a bit of a race to get it completed. This may not seem like a 'go to' choice for a college student, but then again DD#1 is no average girl!  I used FOUR stamp sets to create this card! That may be a new record for me!


The truck image is from Country Livin' and I had to add the sweet pup from Beautiful Ride to the back! 


The cat and flower pot are from Sitting Here and the sentiment is from Perfect Pairings.

I probably spent more time on this one card than I did on the other cards combined!  It was so much fun to incorporate everything DD loves on one card.  She is a bit of an old soul, enjoying everything vintage, and LOVES fat fender trucks.  Her love of them is slightly surpassed by her love of animals and gardening, so I think I've managed to get things covered with this one card!

Mushy Mom Moment:  As I was coloring this card, I spent a lot of time thinking about her and how our move had affected her.  She is a country girl to the core, and when our dreams of building in the country were dashed, she took it every bit as hard as her mother.  The move to our new home was exciting in the fact that she would have her own room and I would finally have my craft studio, but we were both sad that we would no longer have 2 acres to call home (even if it meant being crammed in a small mobile home...).  We held onto the fact that we could still spend time in the country and even camp out on the land when we wanted a break.  Unfortunately, the 'powers that be' changed those plans for us and we no longer had the chance to buy the land for ourselves.  We love our new home very much and it has been an adventure to work together to make this place ours, but there is still that yearning for wide open spaces in our hearts.  She recently announced that when she graduates, she is going to save her money and buy a small farm.  She's even invited me to come visit whenever I like to help tend to her chickens and baby goats!  I am so proud of her acceptance of the present and her dreams for the future.  I know that whatever direction she chooses to go, it will be with all of her heart and she will enjoy every moment of the journey.  What more can a parent want for her child...

Thanks so much for visiting and I hope I didn't bore you too much with my ramblings! Have a terrific rest of the week!

Card Recipe: Paper-whisper white, soft suede, kraft, Ink-memento tuxedo black, soft suede, assorted markers and colored pencils, Stamp Sets-Country Livin', Sitting Here, Beautiful Ride, Perfect Pairings, Accessories- Studio Calico wood veneer stars, ovals collection framelits, square lattice embossing folder, linen thread, lace tape (from stash)

Thursday, March 24, 2016

Live Simply

Hello! I am finally making a little time to update my blog today.  We are on break from school and I had hoped that I would have all kinds of crafty time this week, but other things took priority and left me with barely enough time to post!

I do have a card to share though!  A few weeks ago some young ladies from our church, my daughters, and I went to a youth retreat.  It was a wonderful time for me to get away from the busyness that normally takes over my days.  I always enjoy this retreat because I get to know the kids from our church and other churches  a little better and they never cease to amaze me with how wonderful they are.  This year, I made notecards before, and took some quiet time at the retreat to write a special note to each of the girls.  I think they were all appreciative and surprised to receive them.  Even my girls were excited about the cards!


I don't usually use the bigger pattern side of the pattern paper (love those smaller designs), but the large pretty designs are starting to grow on me.  They make it really easy to put a card together- fancy paper, framed sentiment, pearl dots, a little ribbon and a bow!  

I pulled out my buttercup liquid pearls and made lots of little dots to add a little pizzazz to the scallops.  I'm not sure when I used this last, but it wasn't the least little bit dried up! SCORE!

Well, tomorrow will be another busy day for me.  We are doing a massive clean out of our home in the hopes of preparing for a new home!  My kids cleaned out their room today and there is an enormous mountain of laundry now... This doesn't include the giant bag of trash they hauled out or the boxes of things to be donated...  It will get better, right??

Thanks so much for stopping by and have a wonderful rest of the week.  Happy Easter to my fellow Christians and the secular celebraters out there!!

Card Recipe: Paper-daffodil delight, whisper white, rich razzleberry, Floral District dsp, Stamp Set-Trust God, Ink-Baja breeze, Accessories-Baja breeze seam binding, buttercup liquid pearls, oval framelits, scallop oval die

Tuesday, March 10, 2015

Happy Easter Bunny

Hello! I am so glad you stopped by today!  I have a fun little card to share with you that I made during one of our most recent snow days.  I am not normally prone to purchasing Easter stamps since they aren't as versatile for other purposes, but the Happy Easter Bunny stamp from the Occasions catalog was just too cute!  Plus, it has absolutely nothing to do with snow and freezing cold weather, so it was a pleasant change from my current view...

I paired the sweet bunny with the Painted Blooms DSP (also from Occasions) because this spotty paper reminded me of dyed eggs.  It was fun to color the image as I watched movies with my girls.


When I finished putting all of the layers together, the card looked like it still needed something.  So I pulled out some retired wild wasabi ribbon to make a bow.  I really wish I had moved the oval up a little so the bow would be under the image, but it was already glued down and I didn't want to tear up the card.  

I can't believe that in a few short weeks, Easter will be here!  Where has the time gone?! Not that I am complaining that spring is on its way!!!!! Bring it on!  I am just hoping that I will be ready when the time comes!  

Thanks so much for visiting today and have a marvelous day!

Card Recipe: Paper-daffodil delight, whisper white, Painted Blooms DSP, Ink-memento tuxedo black, wild wasabi, rose red, blackberry bliss, soft sky, blushing bride, pacific point, Stamp Set-Happy Easter Bunny, Accessories-oval framelits, wild wasabi stitched ribbon


Friday, May 9, 2014

Umm... Happy Easter??

As most of you know, things have been quite hectic in my household lately and I've not been able to do a lot of crafting or blogging.  I also just realized that I never did post the other cards I made at the crop I attended last month.  This wouldn't be such an obvious oversight except one of the cards is an Easter card... So here is my Easter card for this year!


I also made a few sympathy cards because I like to have these on hand.  I really have a hard time making them when the need arises.


I am so glad I got the Blessed Easter stamp!  The tulip image is so pretty and easy to color as well!  I love that I can color only the flowers to use this for birthdays and other occasions too!

There is less than a month left of school and I am hoping that soon I will be back to a regular visiting schedule!  I'm having blogland withdrawals...  See you soon!! Have a wonderful weekend and thanks so much for stopping by!

Saturday, December 14, 2013

Day 14- The Last of the Christmas Cards!

Hello and welcome to day 14! This post celebrates two accomplishments! The first is the completion of my Christmas cards and they're all in the mail now!! The second is that as you read this, I am celebrating our family's annual cookie day.  Yes, I have the arduous task of making, baking, and tasting lots of yummy Christmas cookies! How will I manage??  This is one of my favorite Christmas activities because not only do I spend the day with my favorite ladies, we also recreate some of the recipes that have been in my family for generations.  As an added bonus, most of these cookies will be given as gifts which means I can cross that off of my list too!

My last card uses one of my favorite Christmas stamps.  I love the vintage style of Christmas Postcard and it's fun to color too!


After coloring the image, I added some cherry cobbler dazzling details and yellow glitter glue for just a bit of sparkle.

BTW- No, I did not forget how to count... Day 13 is still in the works and will be posted as soon as I finish my project and get a decent photo!

Thanks so much for stopping by today!  I'm not sure if I will continue to have daily posts since a lot of my 'to do' list is not so crafty, but I will still be popping in to share the creations I have made for gifts.  Have a wonderful weekend!

Card Recipe: Paper-chocolate chip, whisper white, Berry Bouquet DSP (ret), Stamp-Christmas Postcard, Ink-black stazon, chocolate chip, wild wasabi, so saffron, real red, cherry cobbler, Accessories-cherry cobbler seam binding, cherry cobbler dazzling details, Ovals collection framelits, yellow glitter glue

Sunday, March 24, 2013

Anything But a Card Challenge 15-Spring/Easter

It's time for week 2 of Challenge 15 at Anything But a Card Challenges and it's my turn to share my project for the challenge Spring/Easter/Alice in Wonderland.  As much as I really wanted to do an Alice project, I have absolutely no Alice goodies in my stash, sniff! sniff!  So my project is following the Easter portion of the theme.

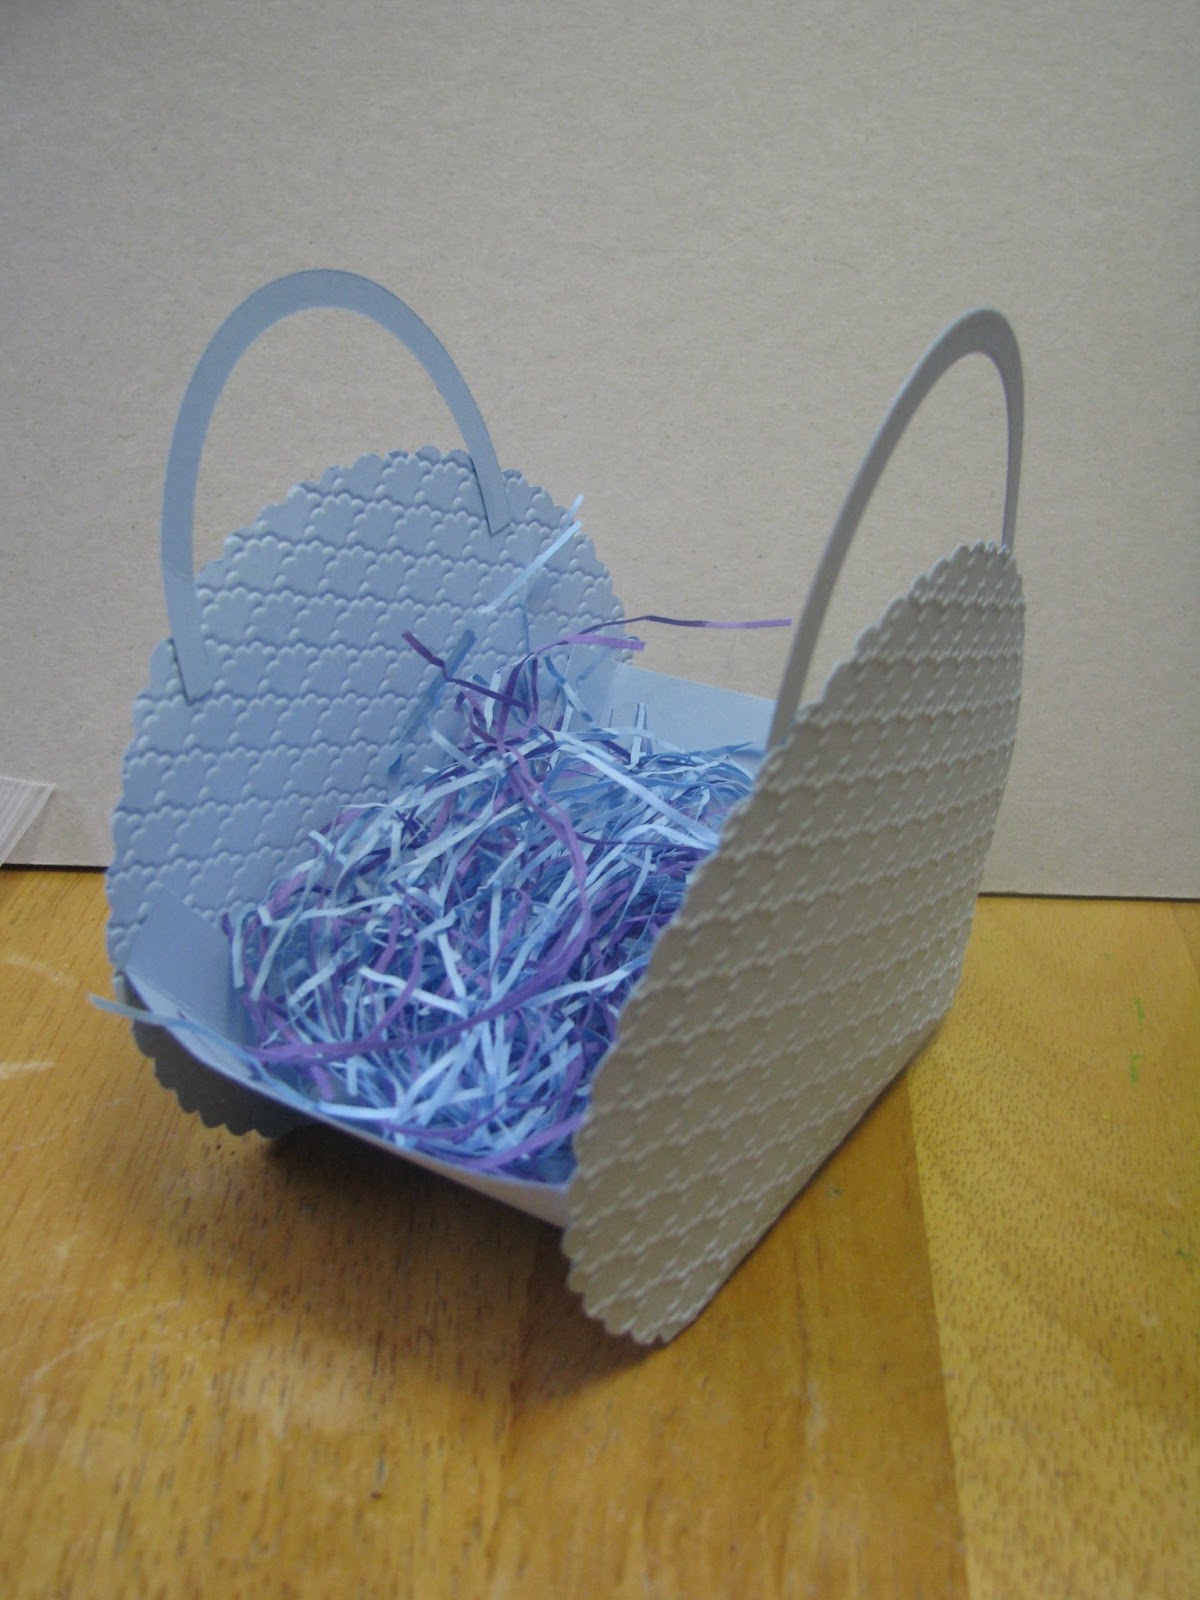
I would love to take credit for this sweet little basket design, but my crafty sistah, Sheila, shared this as a make and take at our most recent Stampin' UP meeting.  I couldn't get over how easy this was to make and only takes one sheet of 8 1/2 x 11 cardstock.  I also added the bow and little tag just to dress it up a little bit!  Wouldn't this be so cute full of candies?! Especially chocolate!!


I will try to get the diagram for the cardstock piece on my blog later this week.  I am officially on spring break and hope to have lots of crafty and bloggy time to get caught up on some much neglected things!  I hope you enjoyed my little Easter basket and that it inspired you to link up with us and share your own craftiness!  Have a fantastic week and happy crafting!