After a long break from creating, I finally made some time for card making. My sister and I attended a local crop and had a wonderful time surrounded by so many wonderful and creative people! This was just the push I needed to plan my card making class for the library and a fun afternoon at home.

These cards were made at the crop and are going to the sunshine ministry for our ladies group at church. They will be sent to various people in our church family to let them know we're thinking about them!

The card below was made at the crop as well. I bought some really cute and fun monster dies from our LSS and had a lot of fun making these guys! My glue use needs a bit more work, but overall I'm happy with them!


Inside of monster card

This hydrangea stamp is an old favorite that I pulled out of the cabinet. Poor thing needed to be dusted off! 😉
The next three cards were the designs I used for the library class. Not too complicated, but used different techniques which is one of my goals for each class.

A little punching, die cutting, and freehand drawing-of course there was a bit of bling too!

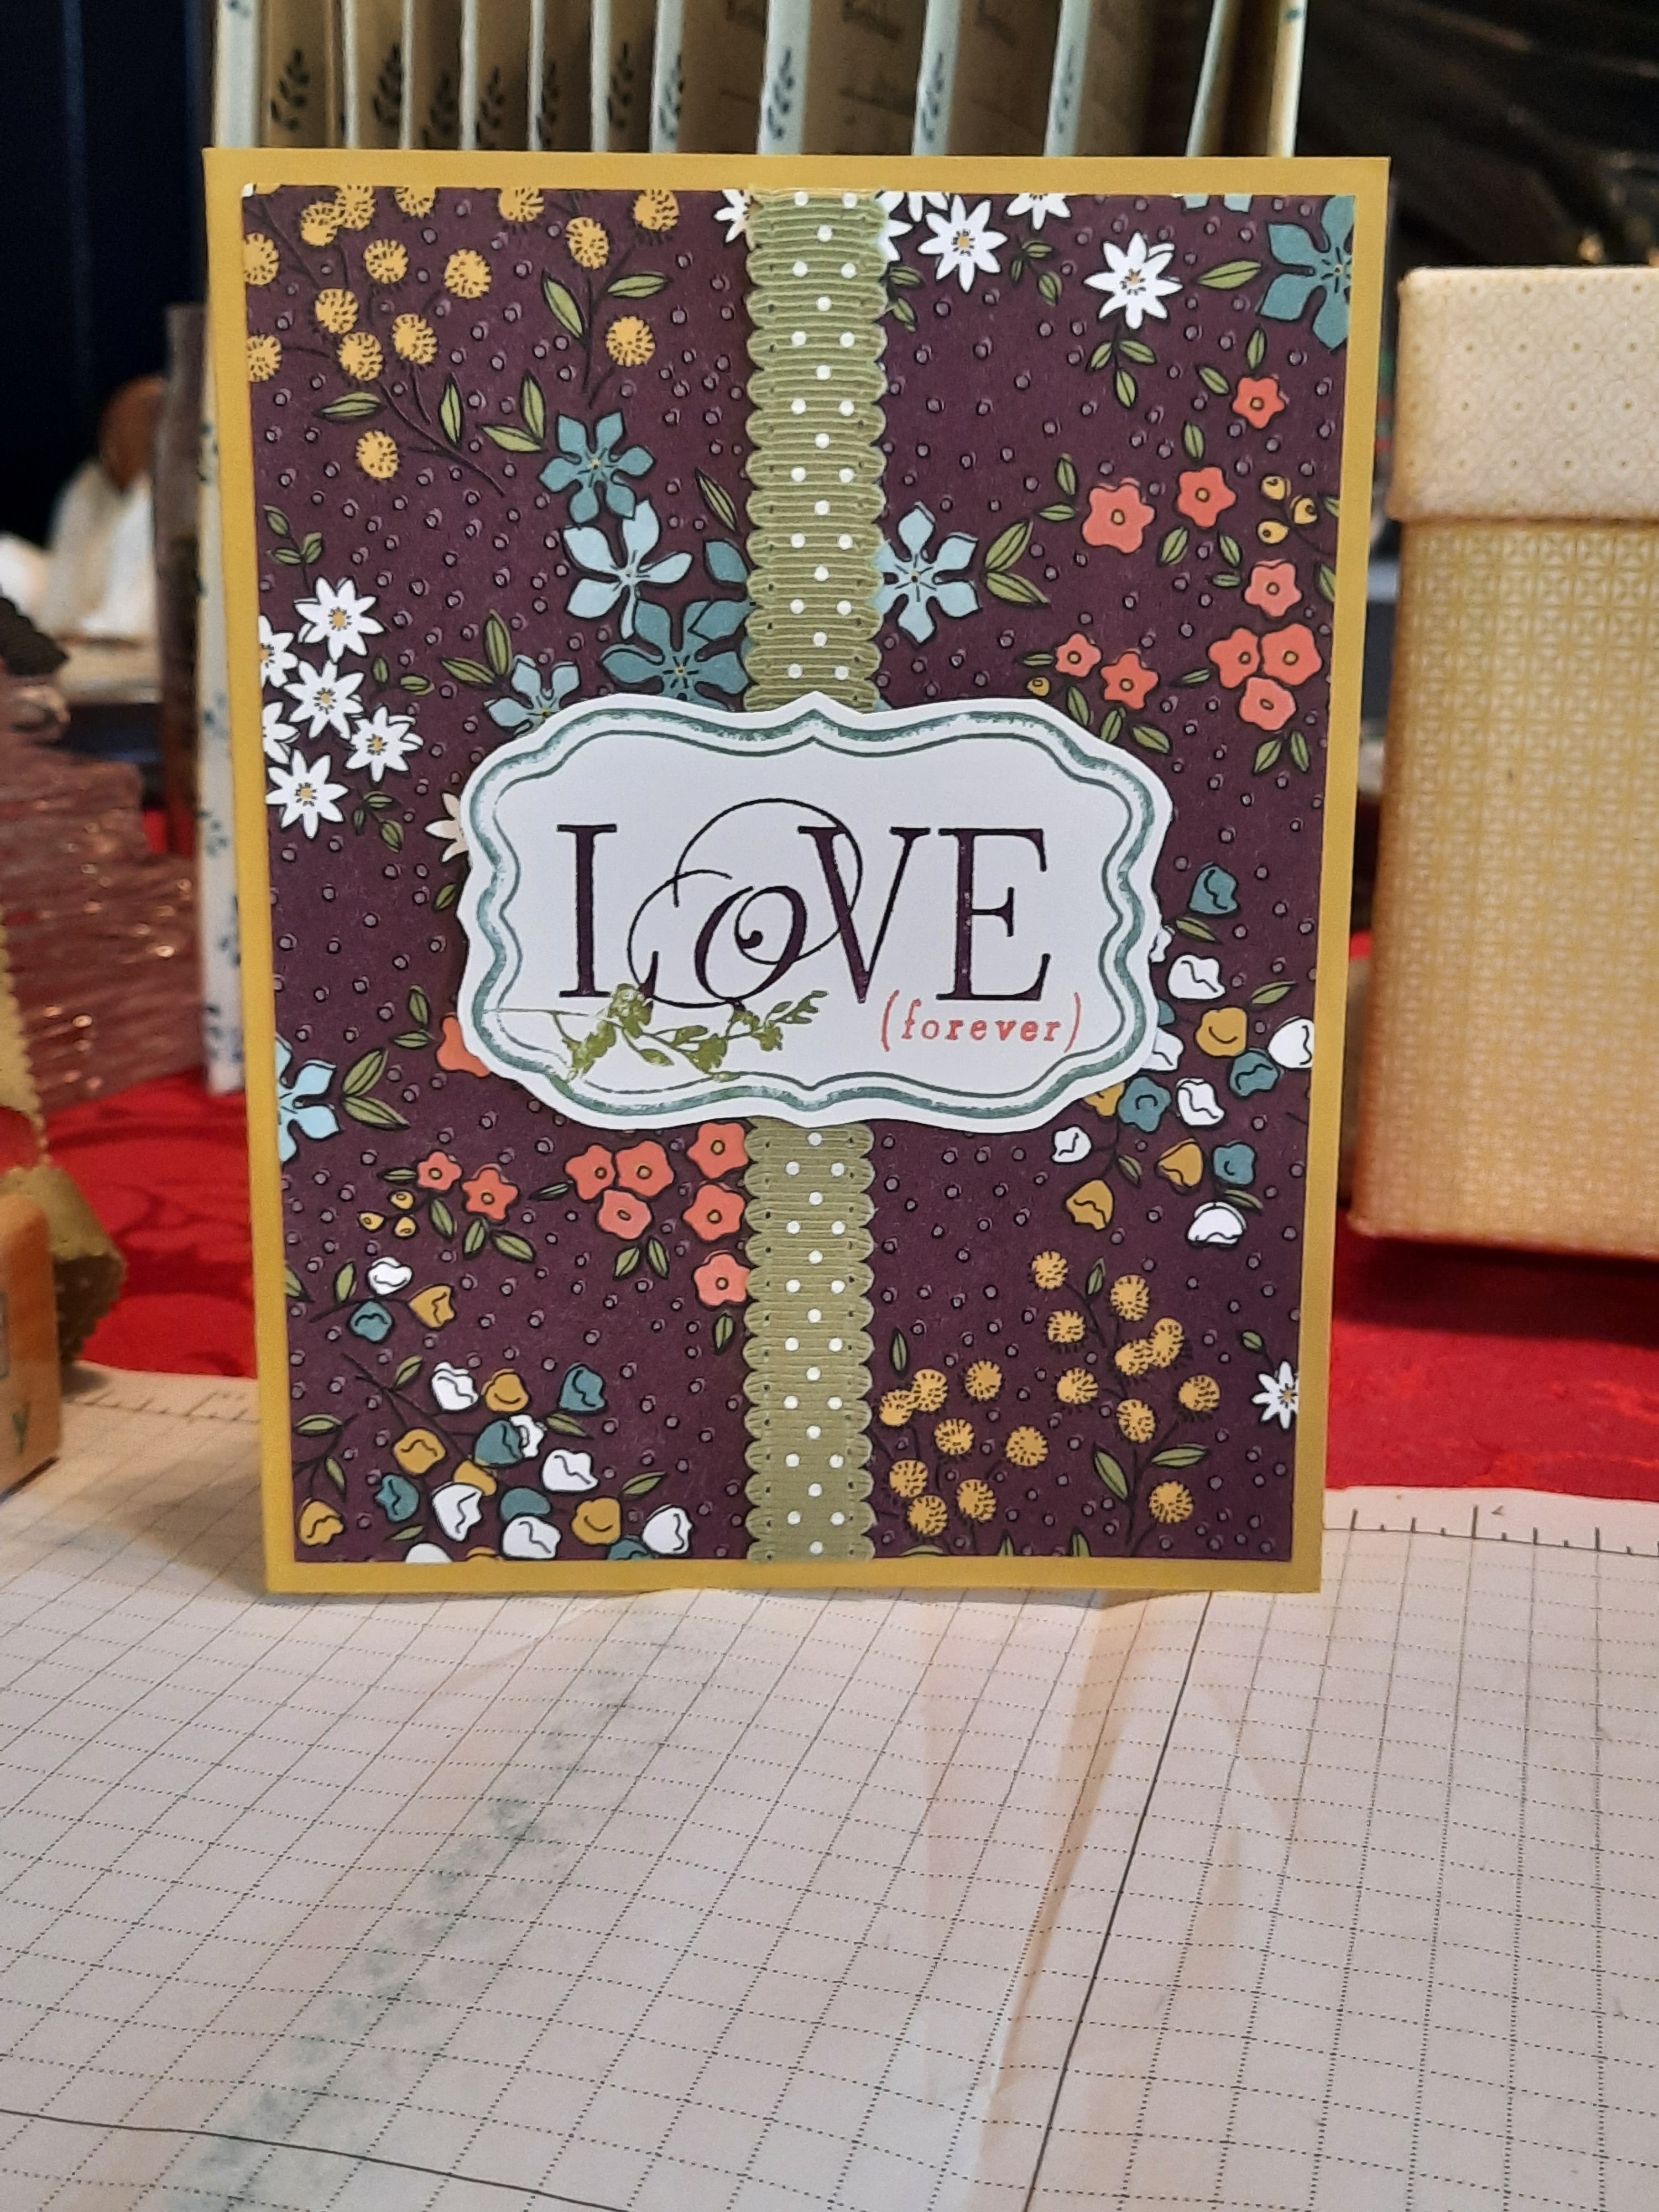
More punching, dry embossing, and stamping
I loved showing them a different way to use simple circles!

Multi-step stamping and coloring for this one
I hope you enjoyed my cards and found some inspiration for your own creations. Thanks for visiting!